After you have unpacked more.groupware and done the necessary preparations according to the previous chapters, you are ready tu run the web-based setup procedure. It is described in full detail in this chapter. After you are through with this, check back with the platform specific instructions to make sure you don't miss anything you need to do to conclude the installation. Then read the chapter on Securing your more.groupware setup!
Start your web browser and open the URL http://localhost/moregroupware/index.php (or http://your.doma.in/moregroupware/index.php if you run setup at a remote computer).
As you don't have run the setup yet you will get an error message:
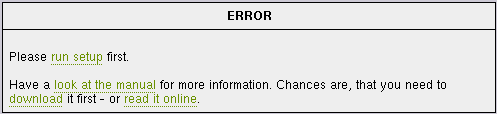
Use the "run setup" link to start the setup process. If you want to read this manual you can choose the "look at the manual" link. If you choose to run the setup you will get the following setup screen:
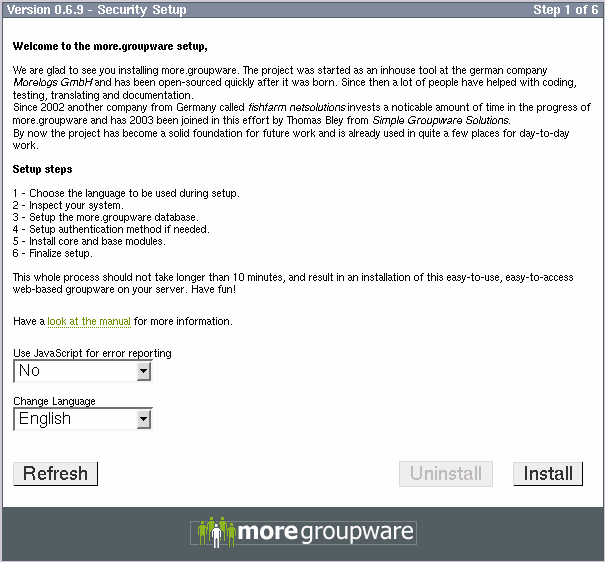
Choose the language you want to use for the installation. What you choose here, will be the default language for your installation, i.e. the login screen will default to this language as well. After you have done the choice you must press refresh to update the output to your chosen language. Setup shows error messages and information if needed. If you want those messages to appear as popup windows, select 'Yes' in the drop-down box labeled 'Use javascript for errors'.
Now click Next to go to step 2:
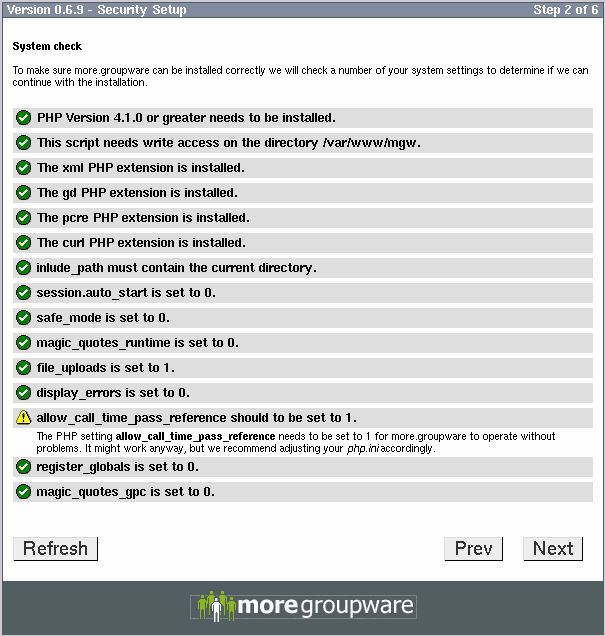
Hopefully your computer passes the system check. If not you have to do the necessary changes in system settings before you try to run the setup again. Press Next if everything is ok.
Now it's time for some real configuration:
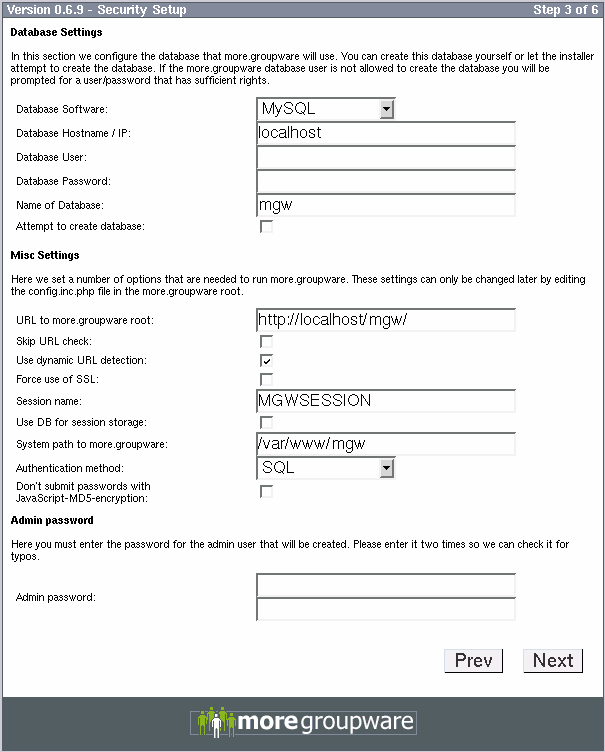
The settings you can or need to set here have the following meaning:
- Database Software
This is the type of database you use. Only MySQL and PostgreSQL work by now, but we want to support more database systems in the future. Set this to the software you use. You only get options your PHP supports!
- Database Hostname / IP
The machine name or IP address the database runs on. If this is the same machine as the webserver, use 'localhost'. Otherwise type the name or IP, using the IP might improve the performance in extreme situations (because the name doesn't need to be resolved).
In case of PostgreSQL as database system, just supplying user and password, with leaving the hostname blank is possible as well.
- Database User
The database user you created (or that has been created for you) for moregroupware. This is the same user you might have created in previous steps during the installation.
- Database Password
The password given to the database user you used above.
- Name of database
The database name you defined when creating an empty database for more.groupware.
- Attempt to create database
If you haven't already created the database you want to use, you can have setup create it. Checking this option will show two more fields for username and password of a user that can create databases.
- URL to moregroupware root
This is the URL that points to your more.groupware installation. It should be guessed correctly in most cases, but check anyway, just to make sure.
- Skip URL check
If setup claims the root URL is not correct, but you are sure it is, you can skip the check. Do this at your own risk...
- Use dynamic URL detection
If your server can be accessed by different names (e.g. depending on whether you access it from inside or from outside of your LAN), you need to check this. It will use the hostname supplied by the browser (as aprt of the request) instead of a hardcoded one. This will only work with HTTP/1.1, but this should be standard nowadays.
- Force use of SSL
You can check this to have more.groupware redirect to a SSL connection whenever it detects an unencrypted connection.
- Session name
This is the name of the session that will be used. PHP defaults to PHPSESSION, which of course may lead to different sessions using the same name. So we choose something different, and you can make it unique if you like.
- Use DB for session storage
Usually the session data is stored in files on the server's file system. Optionally you can have more.groupware store the session data in the database.
- System path to moregroupware
This is the path to the directory you unpacked more.groupware into. Should be guessed correctly, check it anyway, just to make sure.
- Authentication method
You can authenticate the more.groupware users either through LDAP, the database or NTLM/htaccess.
Using the database is the most used and most widely tested method, so it's a safe bet. If you have your users in LDAP (OpenLDAP or Active Directory) anyway, go this way. In a Windows-based LAN NTLM might be the best choice.
- Don't submit passwords with MD5 encryption
Passwords can be submitted using a MD5 encryption. They are hashed on the client using JavaScript, to avoid sending cleartext passwords over the net. This feature is switched off automatically if no JS is available on the client, but you may completely disable it here.
![[Important]](images/admonitions/important.png)
Important If you want real security, use SSL! If one captures the hashed password, it is as easy to break into your system, as it would be with a cleartext password!
- Admin password
Choose the intial password for the admin user that get's created.
Press Next to go to step 4:
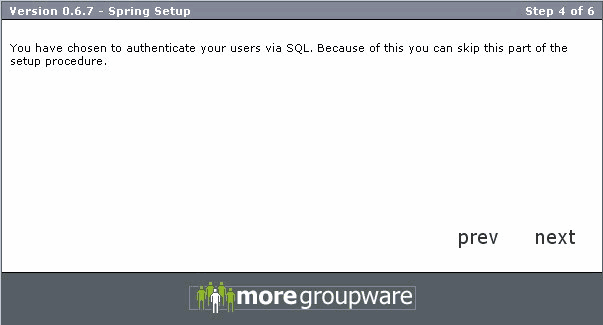
Nothing to do here if you have chosen authentication of users via SQL or NTLM/htaccess. Press next in this case.
If you selected LDAP as authentication method, you'll see this:
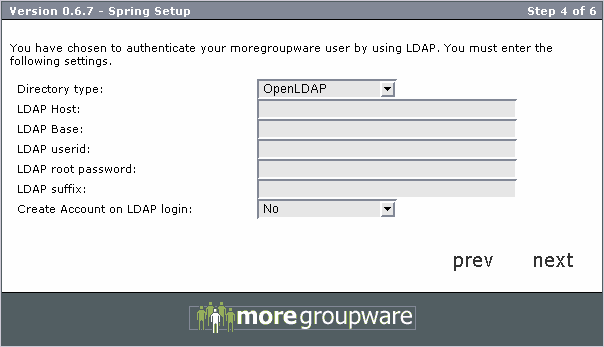
- Directory type
Select your directory type, either OpenLDAP or Active Directory.
- LDAP Host
The host to connect to for LDAP queries.
- LDAP Base
- LDAP userid
The user you want to use to connect to the directory server.
- LDAP root password
The password given to the user you entered in the previous field.
- LDAP suffix
- Create Account on LDAP login
You can select 'Yes' here to have more.groupware automatically create accounts for users who can be authenticated successfully through LDAP. If you select 'No', you need to create those accounts manually.
After entering the needed values, click 'Next' to continue with the module installation.

Press next after you read the provided information.
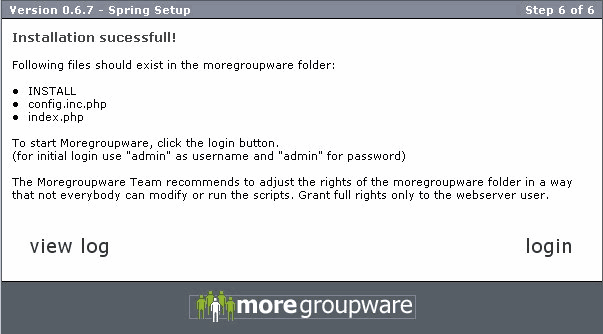
Hopefully you get the message above which tells you that the installation was successfully. If not you can choose view log to see why the installation failed. There you should get enough information about what went wrong, and why. Try to fix the problems, and restart the setup.
Now comes your first login. Press login or point your browser manually to http://localhost/moregroupware/index.php for doing your first login (if you want to use NTLM authentication, use http://localhost/moregroupware/index_ntlm.php instead). Use user "admin" and your chosen password.