As you can see, the categories are displayed in a list, showing the category name and the category's description.
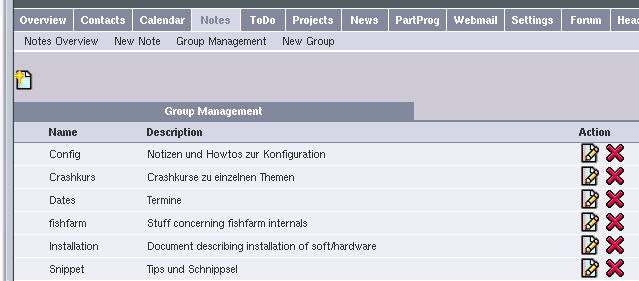
The submenu allows you to get back to this overview page by clicking on "Category Management" any time. You can create a new category by clicking on "New Category" in the submenu or by clicking on the new categroy link on the right side above and below the list.
To create a new category click on "New Category" in the submenu or use the new category links above and below the overview list.
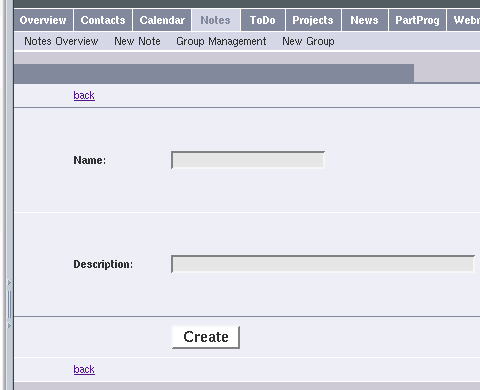
Fill in the name and the description for the new category. Click on "Create" to create the new category when finished. You will return to the overview, where you will see your newly created category.
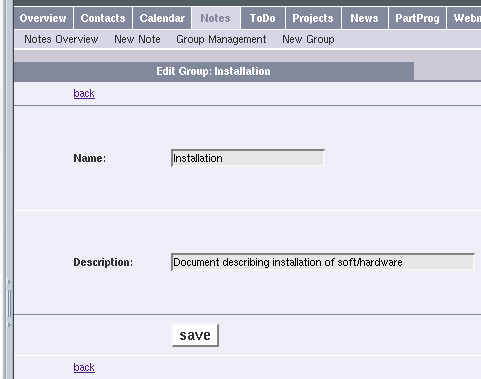
To edit a category, just click on the edit link on the overview page. You will be taken to a page similar to the "New Category" screen. The form will be populated with the category's data, which can be changed as you like. Click on "Save" to save your changes. Clicking on a submenu link or on "back" aborts the edit process.